아키텍쳐

다시 말하지만 이전 글 안봤으면 꼭 보세요..
작동이 안되는건 제 오류 일수도 있지만 안보고 오류난건...저도 뭐 어쩔 수가 없습니다.
ArgoCD
ArgoCD에 대한 내용은 따로 블로그에 서술해두었으니 바로 시작!
kubectl create namespace argocd
kubectl apply -n argocd -f https://raw.githubusercontent.com/argoproj/argo-cd/stable/manifests/install.yaml
이렇게하면 ArgoCD가 생성이 된다.
그러나 ArgoCD의 Service가 ClusterIP로 되어있기 때문에 NodePort로 바꿔주고
해당 Port를 나의 localhost와 연결할 생각이다.
kubectl edit service argocd-server -n argocd# Please edit the object below. Lines beginning with a '#' will be ignored,
# and an empty file will abort the edit. If an error occurs while saving this file will be
# reopened with the relevant failures.
#
apiVersion: v1
kind: Service
metadata:
annotations:
kubectl.kubernetes.io/last-applied-configuration: |
{"apiVersion":"v1","kind":"Service","metadata":{"annotations":{},"labels":{"app.kubernetes.io/component":"server","app.kubernetes.io/name":"argocd-server","app.kubernetes.io/part-of":"argocd"},"name":"argocd-server","namespace":"argocd"},"spec":{"ports":[{"name":"http","port":80,"protocol":"TCP","targetPort":8080},{"name":"https","port":443,"protocol":"TCP","targetPort":8080}],"selector":{"app.kubernetes.io/name":"argocd-server"}}}
creationTimestamp: "2022-06-22T03:25:16Z"
labels:
app.kubernetes.io/component: server
app.kubernetes.io/name: argocd-server
app.kubernetes.io/part-of: argocd
name: argocd-server
namespace: argocd
resourceVersion: "4710"
uid: d924a282-b14d-411a-987d-8ba1a9e4284e
spec:
clusterIP: 172.20.72.38
clusterIPs:
- 172.20.72.38
internalTrafficPolicy: Cluster
ipFamilies:
- IPv4
ipFamilyPolicy: SingleStack
ports:
- name: http
port: 80
protocol: TCP
targetPort: 8080
- name: https
port: 443
protocol: TCP
targetPort: 8080
selector:
app.kubernetes.io/name: argocd-server
sessionAffinity: None
type: ClusterIP
status:
loadBalancer: {}명령어를 작성하면 위의 내용이 나오는데 그것을
아래와 같이 바꾼다.
# Please edit the object below. Lines beginning with a '#' will be ignored,
# and an empty file will abort the edit. If an error occurs while saving this file will be
# reopened with the relevant failures.
#
apiVersion: v1
kind: Service
metadata:
  annotations:
    kubectl.kubernetes.io/last-applied-configuration: |
      {"apiVersion":"v1","kind":"Service","metadata":{"annotations":{},"labels":{"app.kubernetes.io/component":"server","app.kubernetes.io/name":"argocd-server","app.kubernetes.io/part-of":"argocd"},"name":"argocd-server","namespace":"argocd"},"spec":{"ports":[{"name":"http","port":80,"protocol":"TCP","targetPort":8080},{"name":"https","port":443,"protocol":"TCP","targetPort":8080}],"selector":{"app.kubernetes.io/name":"argocd-server"}}}
  creationTimestamp: "2022-06-22T03:25:16Z"
  labels:
    app.kubernetes.io/component: server
    app.kubernetes.io/name: argocd-server
    app.kubernetes.io/part-of: argocd
  name: argocd-server
  namespace: argocd
  resourceVersion: "4710"
  uid: d924a282-b14d-411a-987d-8ba1a9e4284e
spec:
  clusterIP: 172.20.72.38
  clusterIPs:
  - 172.20.72.38
  internalTrafficPolicy: Cluster
  ipFamilies:
  - IPv4
  ipFamilyPolicy: SingleStack
  ports:
  - nodePort: 31000
    name: http
    port: 80
    protocol: TCP
    targetPort: 8080
  - nodePort: 31443
    name: https
    port: 443
    protocol: TCP
    targetPort: 8080
  selector:
    app.kubernetes.io/name: argocd-server
  sessionAffinity: None
  type: NodePort
status:
  loadBalancer: {}
그러면 NodePort가 생겼다.
그 다음 아래 명령어를 통해 포트포워딩을한다.
kubectl port-forward -n argocd service/argocd-server 8080:80주의할 점은 포트포워딩을하면 프롬포트가 반환이 되지 않기 때문에 다른 터미널을 켜주어야한다.
일단 localhost:8080으로 접속해서 확인을 해야한다.

잘 뜨는게 확인이 되면 다른 터미널을 작동해서 아래와 같은 명령어로 password를 알아내고 바꿔준다.
kubectl -n argocd get secret argocd-initial-admin-secret -o jsonpath="{.data.password}" | base64 -d; echo위 명령어는 윈도우에서는 되지 않기 때문에 아래명령어로 알아낸 값을 base64로 디코딩해야한다.
kubectl -n argocd get secret argocd-initial-admin-secret -o jsonpath="{.data.password}"https://www.convertstring.com/ko/EncodeDecode/Base64Decode
Base64로 디코딩 - 온라인 Base64로 디코더
당신의 Base64로 여기에 텍스트를 디코딩 복사 파일로 디코딩 Base64로 다운로드 :
www.convertstring.com
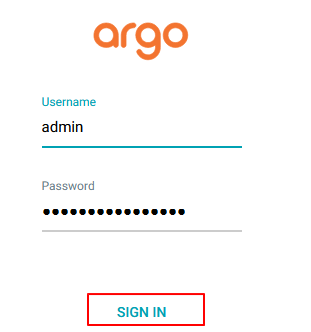
ID는 admin이다.


이렇게 접속하면 유저창이 보이는데 이걸 누르자


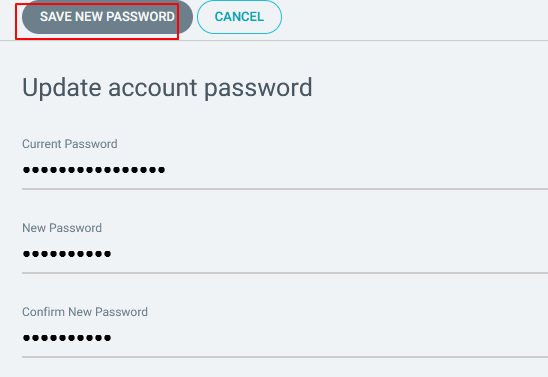
이렇게 비밀번호를 변경하고 다시 접속해보자
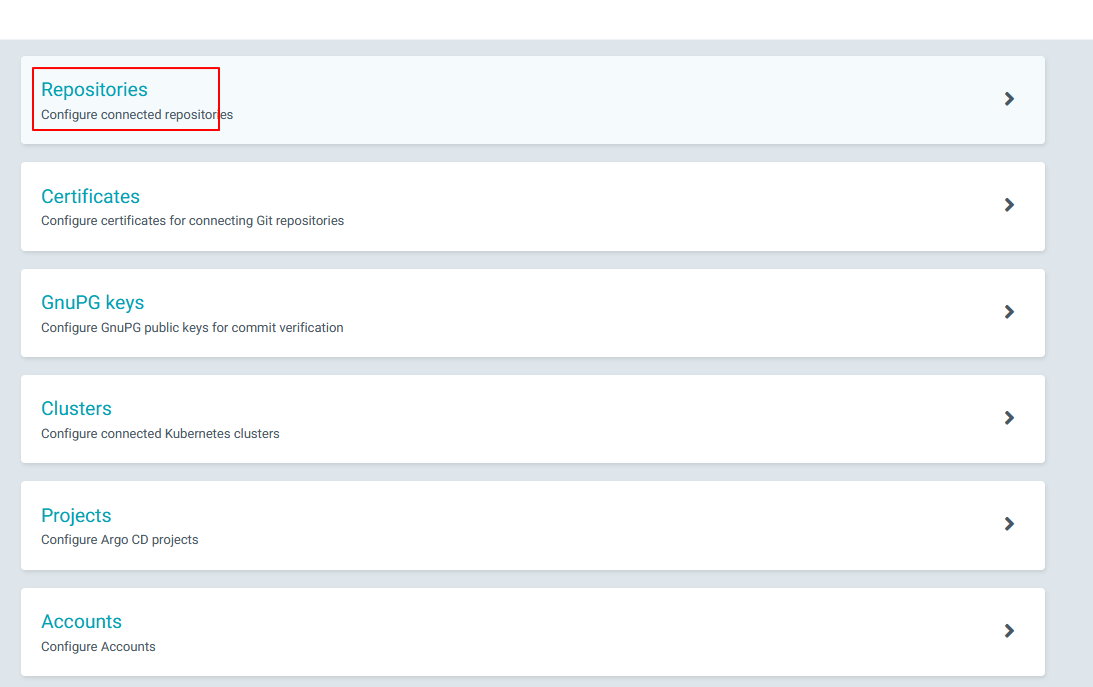
그 다음 개인 github에 들어가서 repository를 생성한다.

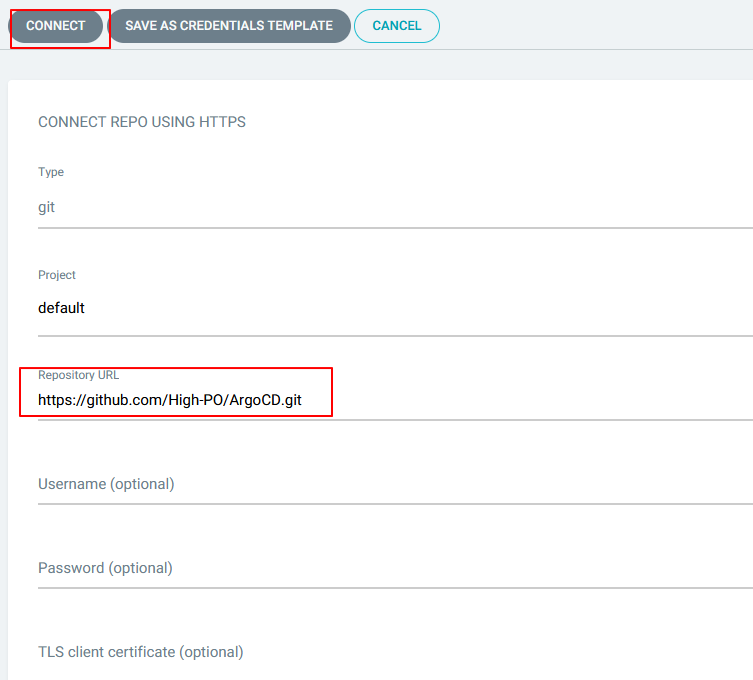
그 다음 똑같이 셋팅해주도록 하자


이제 여기서 멈춰야한다. codebuild에서 완료되면 해당 image를 ecr로 올리고 그 이미지를 기반으로한 service가 배포될 것이기에 codebuild의 작업이 우선순위이다.
아쉽지만 다음 포스팅에서 연결될 것이다.